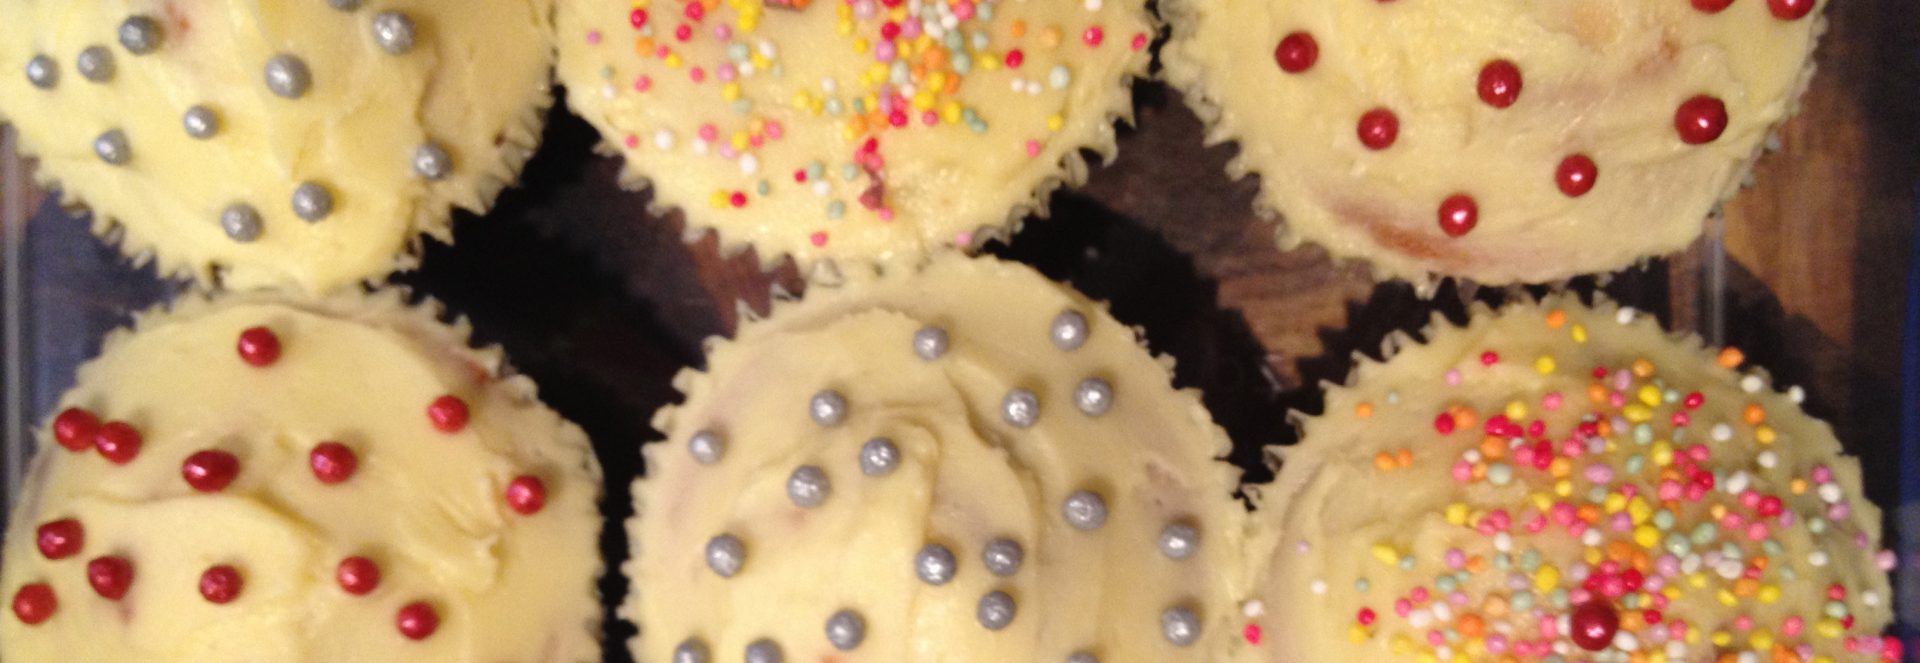
Anna from ‘Bake Me’ has a few cakes on here and I hope she’ll send in some more. I am so grateful to Anna because today’s post is all about how to achieve fantastic pictures, iced by YOU, onto your home-decorated cakes. This means, no theme is impossible. NO THEME. Google images is your oyster. And now you have one of those “bakers’ secrets”, you will be amazed how easy this looks. No, really!
Anna suggests either buttercream icing or cream cheese icing (cream cheese, very little milk and icing sugar). Make it on the harder side but still soft enough to squeeze through the piping bag.
Here’s Anna to teach us.
When I was asked to write for a blog my first thought was how? And where do I start?! Putting words to paper was never really my thing! My school reports are here to prove that! 🙂Anyway here goes. I’ve been asked how I get images looking the way they do on my cakes. And in all honesty it is very simple. I have taken step by step photos of how to transfer any image to any cake!So the first step is to find a image that you want to use. You can use a picture out of a colouring book or download from the Internet. I used a Ben 10 image:Then I stick the image down to the board, I often use a chopping board (the board needs to be bigger than the picture) using standard sticky tape. This is just to stop the picture from moving around. Then place some baking paper over the picture and again sticking it down to the bench. You don’t want the baking paper to move around at all.Fill your piping bag with whichever colour your wanting the outlines of the picture to be and begin tracing the image. See easy!!! 🙂Once the outlines are completed, begin to fill in the rest of the picture. Make sure you Fill in all the areas needed. Don’t worry about it looking messy on top as this part is going to be the back of the image which won’t be seen.Once you have finished icing the image place it in the freezer for 30 – 60 min, depending on the image size and the icing.Now to transfer the image to the cake! Brush the already iced cake with a small amount of water where the image will be placed, this will help the image stick. The water acts like a glue. Carefully place the image on top of the cake and slowly peel the baking paper of. Make sure you leave some of the icing from earlier incase you need to touch up some spots.Once you have removed the baking paper, dip your finger in water (do not soak it!) and gently dab over the image. Use a different finger for each colour to stop colours spreading. By doing this you will smooth out the image. An presto! The cake is done, image and all!!
AnnaBake Me!Website: www.bakeme.net.au


